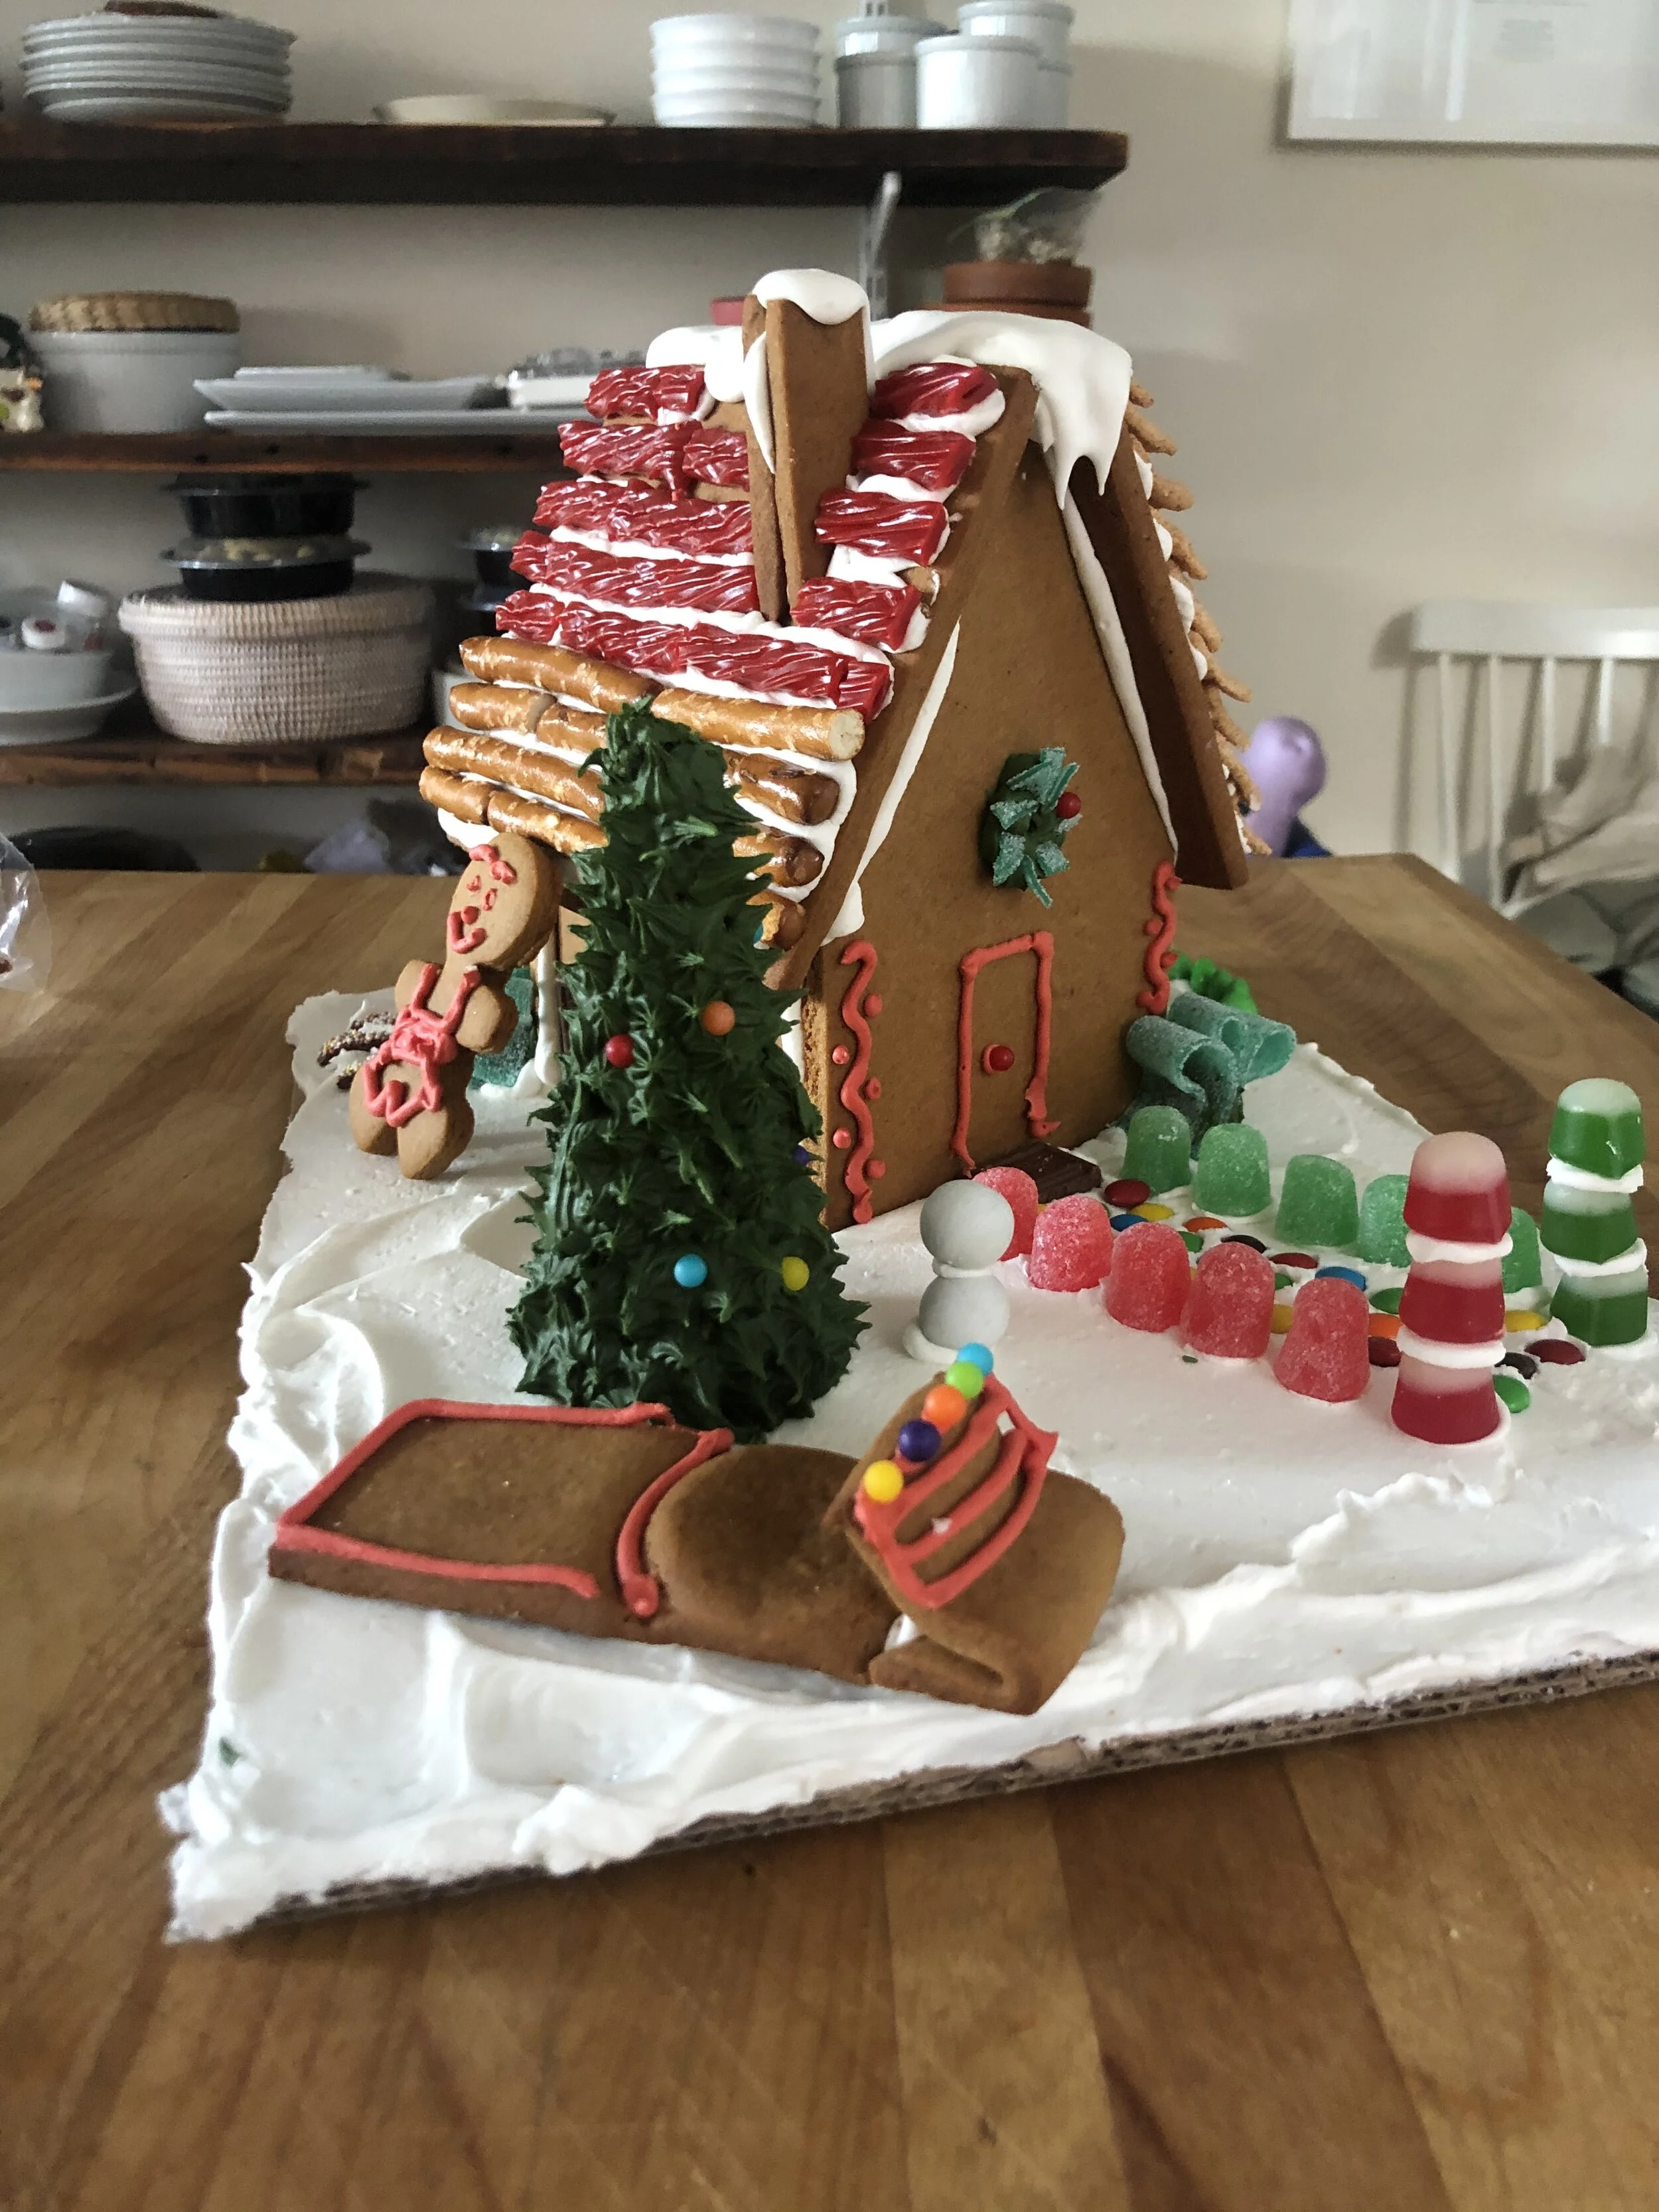
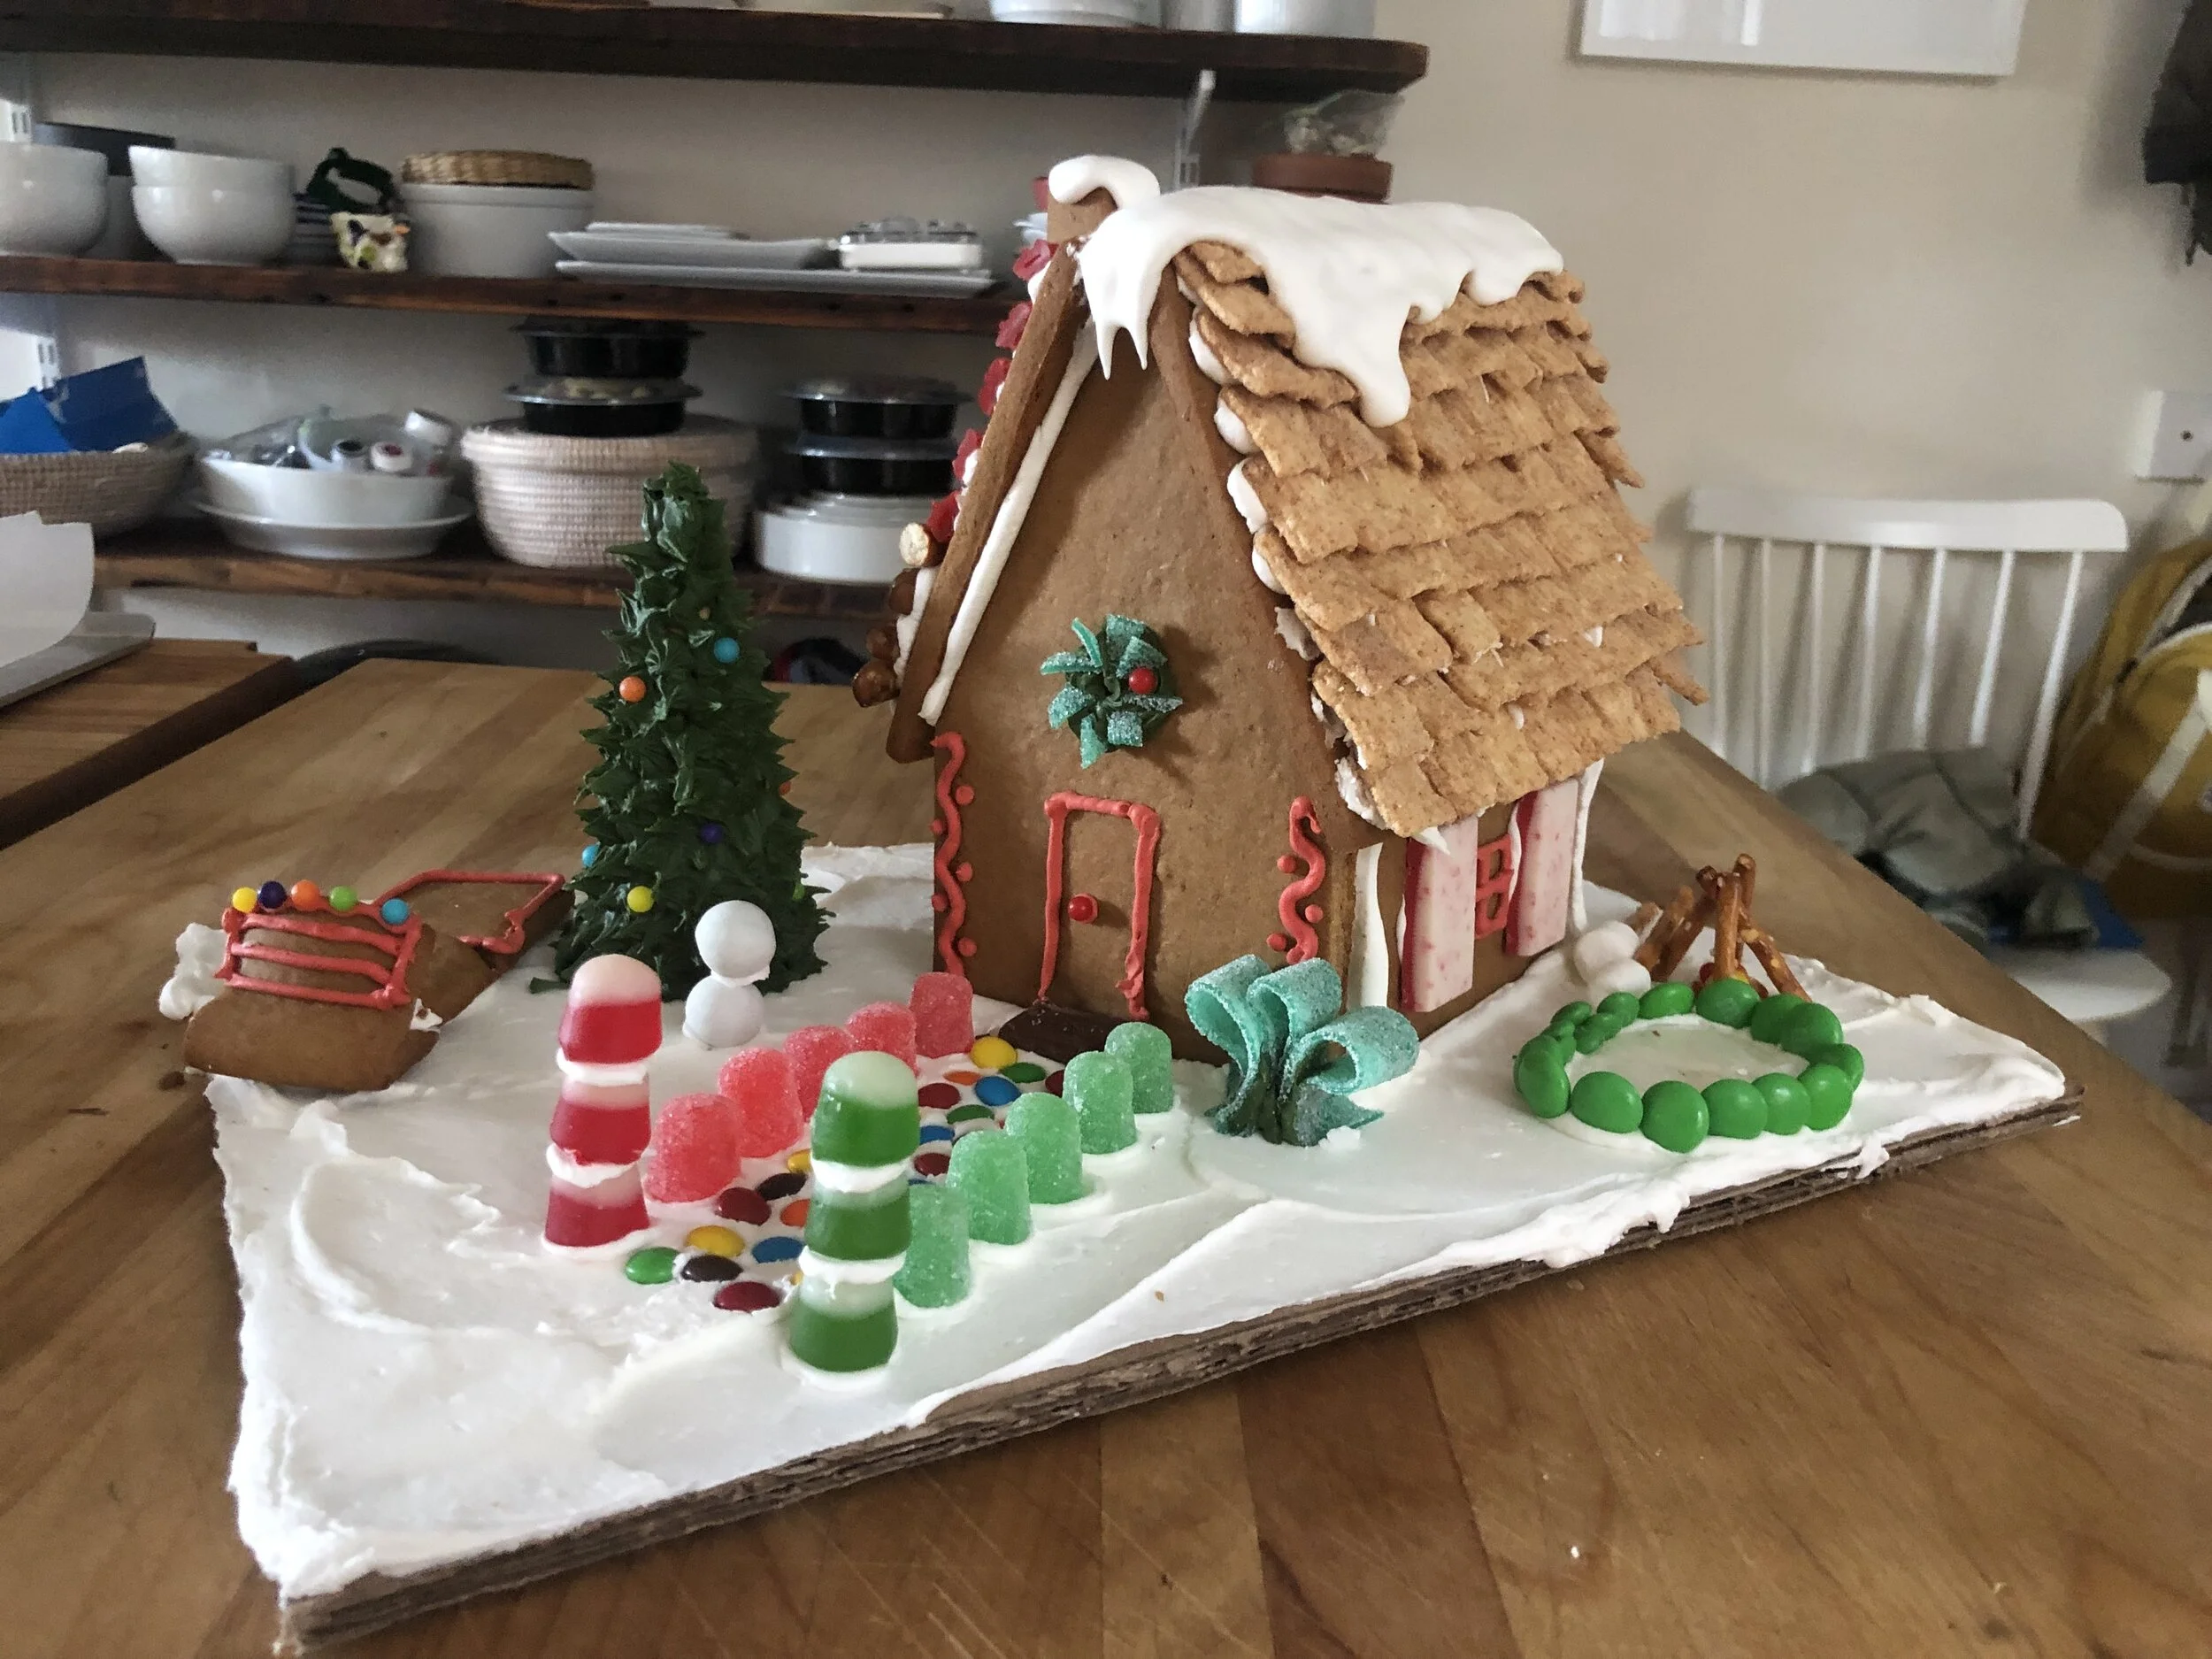
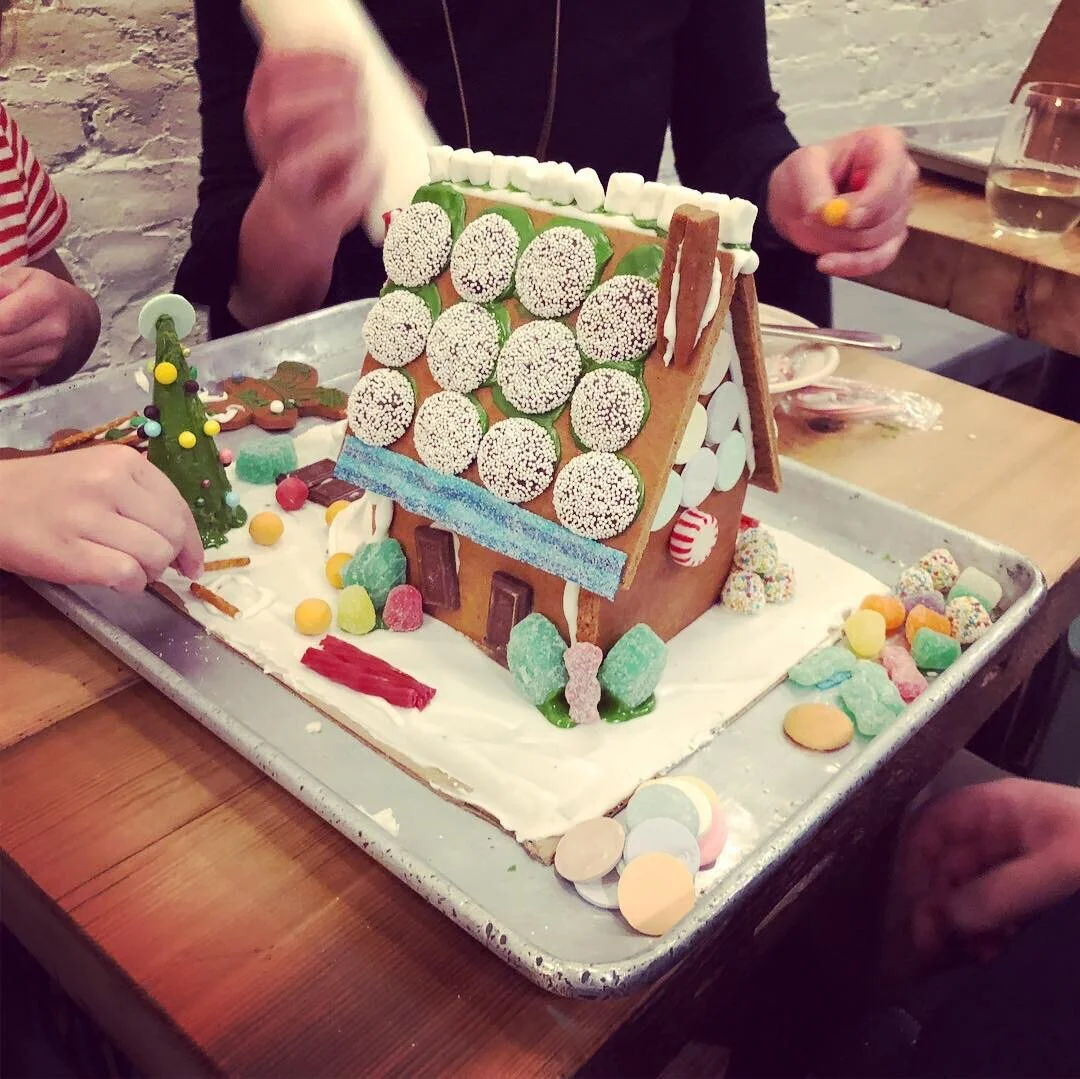
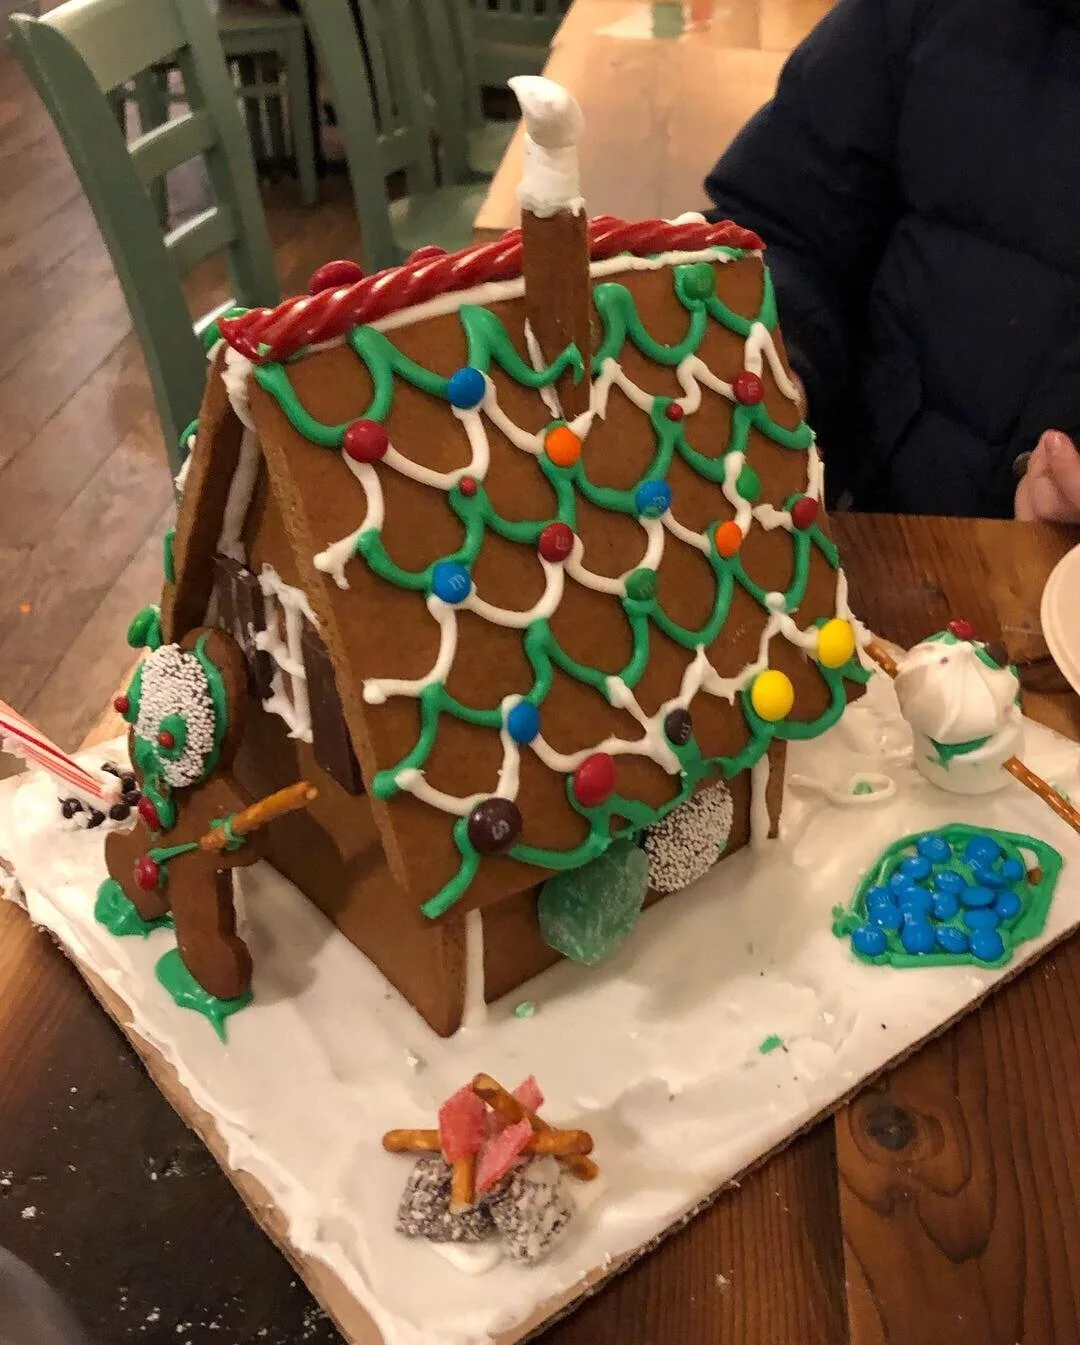
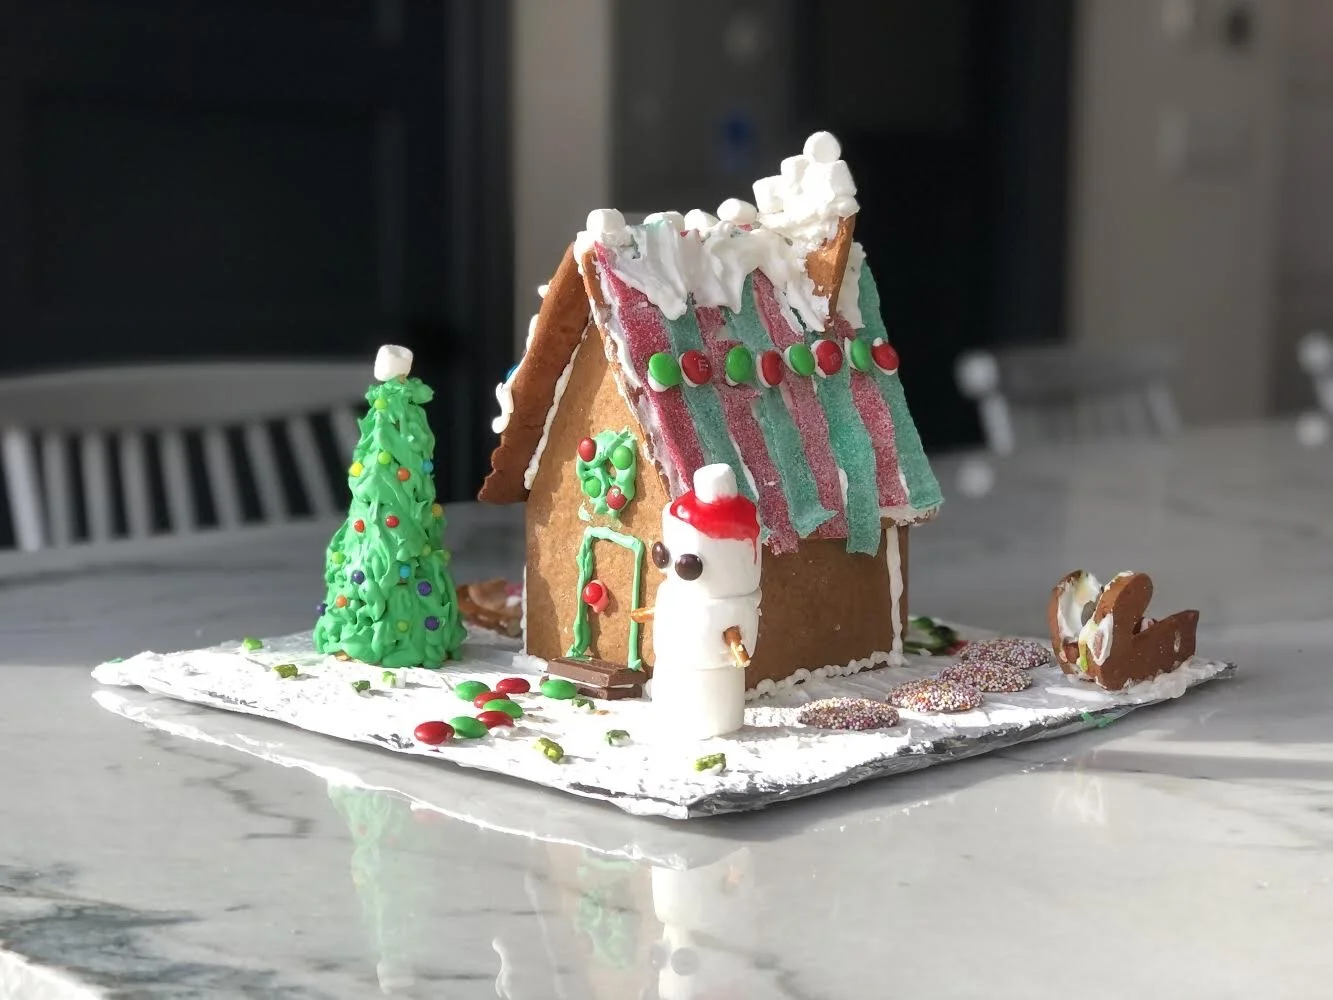
Gingerbread House and Cookies
Gingerbread House and Cookies
Makes 1 house, plus several cookies.
After experimenting with several doughs, I landed on one that’s sturdy enough for construction (note, there’s no egg) yet satisfies my incorrigible sweet tooth. Adults love the burst of 1 tablespoon ground ginger in this recipe, but for kids, I’d go with 2 teaspoons to make it less spicy.
Ingredients:
For the gingerbread dough:
3½ cups all-purpose flour
2 to 3 teaspoons ground ginger
1½ teaspoons ground cinnamon
1 teaspoon baking soda
½ teaspoon ground cloves
½ teaspoon fine salt
¾ cup (1½ sticks) unsalted butter, softened at room temperature
½ cup granulated sugar
½ cup dark molasses (not blackstrap) (see Notes below)
1 tablespoon vinegar (cider or white wine vinegar)
Stencil print-out (see LINK at Bottom of Page)
Card-stock paper or a cereal box, to make stencils
For the tacky paste:
5 egg whites
2 pounds confectioners’ sugar
Food coloring paste (different colors: red, green, blue, yellow) (optional)
For building and decorating the house:
Quart-size freezable bags or a few 12-to-18-inch piping bags with piping tips
A roughly 10-by-13-inch piece of cardboard, for the house base
Lots of candy: Necco wafers (roof tiles), Cinnamon Toast Crunch (roof tiles), Nila Wafers (roof tile or walkways) Twizzlers (chimney or siding), Nonpareil chocolate (walkway), M&Ms, mini candy canes, Skittles, candy cane mint rounds, yogurt-covered pretzels (fence), gumdrops, tree gumdrops (shrubs), large marshmallows (snowmen), Hershey's bar (shutters), ice cream cones (tree), pretzels (log cabin siding), small pearl sprinkles
A few cookie cutters: gingerbread people, tree, snowman (optional)
Steps:
1. Prepare the gingerbread dough: Set an oven rack in the center of the oven. Heat oven to 375°F.
2. In a large bowl, whisk together the flour, ginger, cinnamon, baking soda, cloves, and salt until fully combined; set aside.
3. In a mixer fitted with a paddle attachment, beat the softened butter on high speed for 2 minutes, stopping to scrape down the sides of the bowl. Add the sugar and beat on high until fluffy, about 2 minutes more. Scrape down the sides of the bowl again. Beat in the molasses and vinegar until fluffy, starting off slow and then speeding up the mixer to medium-high, about 1 minute more. On low speed, add the flour mixture, a little at a time, stirring until just combined. (Do not over-mix or the cookie will be tough. If the dough seems too dry - as in it’s crumbly and won’t gather together, add a teaspoon of water and mix. Check again, adding another teaspoon. Continue to do this until it’s no longer crumbly.)
4. Transfer the dough to a work surface and gather it into a ball. Divide the dough in half, reshape each half into a ball, flatten slightly into a disc, cover in plastic wrap, and refrigerate until hard, about 1 hour (or 20 minutes in the freezer).
5. While you wait, use card-stock paper or a cereal box, a ruler, and scissors, to carve the stencils from the gingerbread house print outs (See Last Page).
6. Using a rolling pin, roll the dough between two sheets of plastic wrap to between 1/8 to 3/16-inch-thick. Set the dough sheets on a large baking sheet or the backside of a small baking sheet and chill for at least 30 minutes, preferably more. (Or freeze for 10 to 15 minutes.)
7. Use stencils to carve out the house cookies shapes: place the stencils (dull-side-down (not glossy) over the chilled, rolled-out dough and using a sharp chef knife, cut the dough to the stencil shapes. Make sure to cut 2 of each shape (roof, sides, front-back of house, and chimney). Work quickly as the dough is hard to work with as it softens. Re-roll and re-chill dough as needed. Place the cookie house shapes on a parchment-lined baking sheet and bake until firm to touch, about 12 minutes. (It’s better to over-bake than under-bake when it comes to the house shapes, so give it 1 to 2 minutes more if it looks light in color.) Roll leftover dough again and use cookie cutter to make trees, snowmen, and gingerbread people.
8. Cool on a wire rack. Once cool and hard, use a serrated knife to reshape the gingerbread house shapes to the size of your original stencils — place the stencils over the hard cookies and with a sawing motion, cut through the cookie to reshape. Your house pieces are ready! If not decorating right away, let them cool completely, then store on the baking sheets covered in plastic wrap.
9. Make the paste: using a mixer fitted with a whisk attachment, beat the whites until frothy. Gradually add the confectioner’s sugar. You want the paste to hold the line of your finger when you place it through it. Distribute 1/3 of the egg white paste among small bowls and add food coloring, as desired. Keep the remaining 2/3 of egg white paste for building your house.
10. Transfer the white and colored egg white pastes to pastry bags with tips (a 1/2 inch tip for the white, and a fine-tip for the colored pastes) or quart-size sealable freezer bags. For freezer bags, snip the tip with scissor.
11. Build and decorate the house: It’s time to construct your house. Place all candy in a regular or mini muffin tin, or a tray, to organize. It’s best to decorate the house pieces first. Let them harden and dry, and then attach the house. Use plenty of paste. And keep the edges of each house pieces (except the roof) clear of candies (they can be in the way when you glue the sides together). That said, kids enjoy decorating it more once assembled. And this is doable, too.
12. Set a large piece of cardboard down on a work surface. This is the base of the house. Cover it with white egg white paste to create snow by spreading the paste flat with an offset spatula or a butter knife, evenly across the bottom. Assemble the gingerbread house, using the white paste to glue the sides of the house to the front of the house. Then seal it all by adding the back of the house. Be sure to use plenty of paste to support the inside and edges. Let dry well before adding the roof.
13. While you wait, decorate the roof and the yard. Once dried, add the roof, and continue to assemble and decorate. The gingerbread house will keep for a long time…depending on your sweet tooth. ;-) Recipe by Jill Santopietro.
NOTES:
Gel-Based Food Colors: If you’re looking for better food coloring that doesn’t loosen batters or icings, I recommend gel food colors. Gels don’t add much liquid to whatever you want to color so the consistency stays the same. I like Wilton’s Icing Colors.
Molasses: This recipe calls for regular molasses, not blackstrap. What is the difference? Molasses is made from boiling the syrups created from the sugar-making process down further. Regular molasses can be light or dark, depending on its concentration but it’s usually around 70% sugar. Blackstrap molasses is boiled even further, turning the remaining sugar into a carbonized, black, and salty sludge. It has a sugar content of only 45% and 1% of your daily sodium content. Avoid using this when a recipe calls for molasses. You do have to read the ingredients, as several brands do not even say blackstrap on the front label, like the Wholesome brand, which is actually blackstrap. I like Grandma’s Molasses, pictured on the right.

